Left Hand Low Putting Grip Explained: Step-By-Step Pro Guide
The left hand low putting grip is used by multiple Major winners and legends of the game, but what are the benefits? Our expert shares a step-by-step guide...

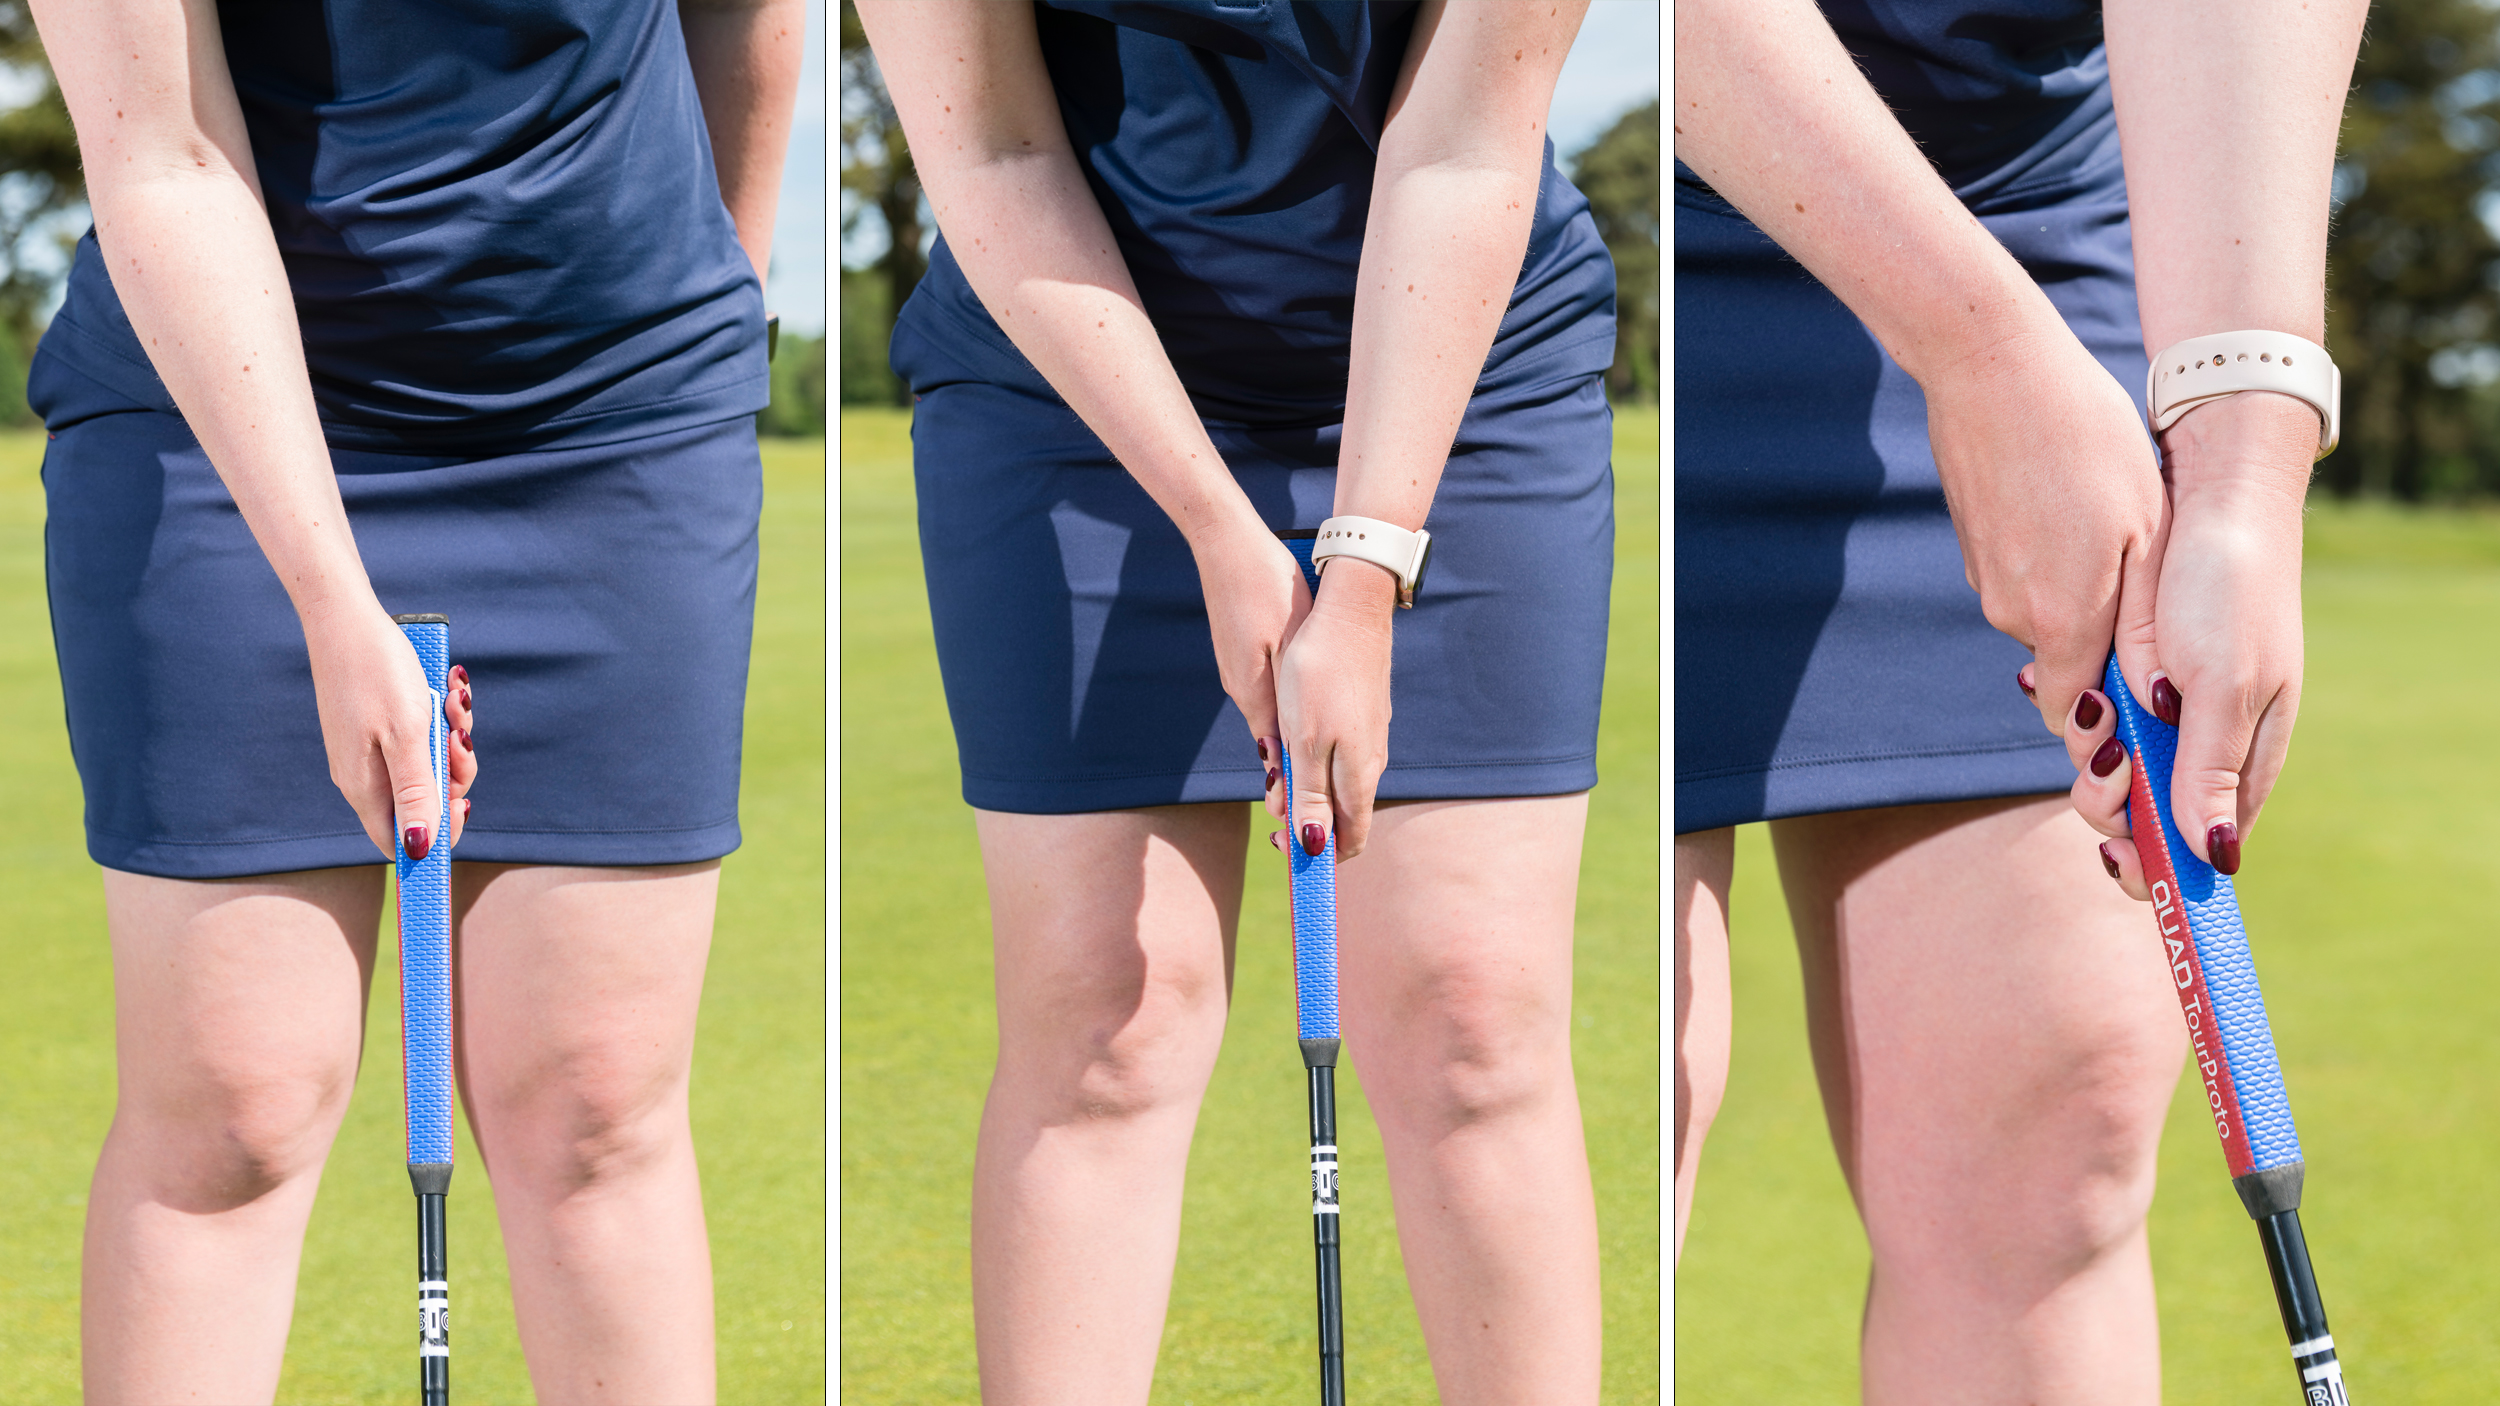
The left hand low putting grip has been used by some of the greatest names in the game, including multiple Major winners like Jordan Spieth, Nelly Korda and even Jack Nicklaus.
When it comes to learning how to grip a putter, there are so many options. Some like to go with the conventional style, while others opt to copy World No.1 Scottie Scheffler with the claw grip, but the left hand low option is as good as any.
Like all the best putting tips, nailing a grip change takes time and practice. So, in order to give you the best chance of firing up the flatstick, we asked Golf Monthly Top 50 Coach Jo Taylor to break down the technique and explain everything you need to know...
Left Hand Low Putting Grip: Step-By-Step Guide
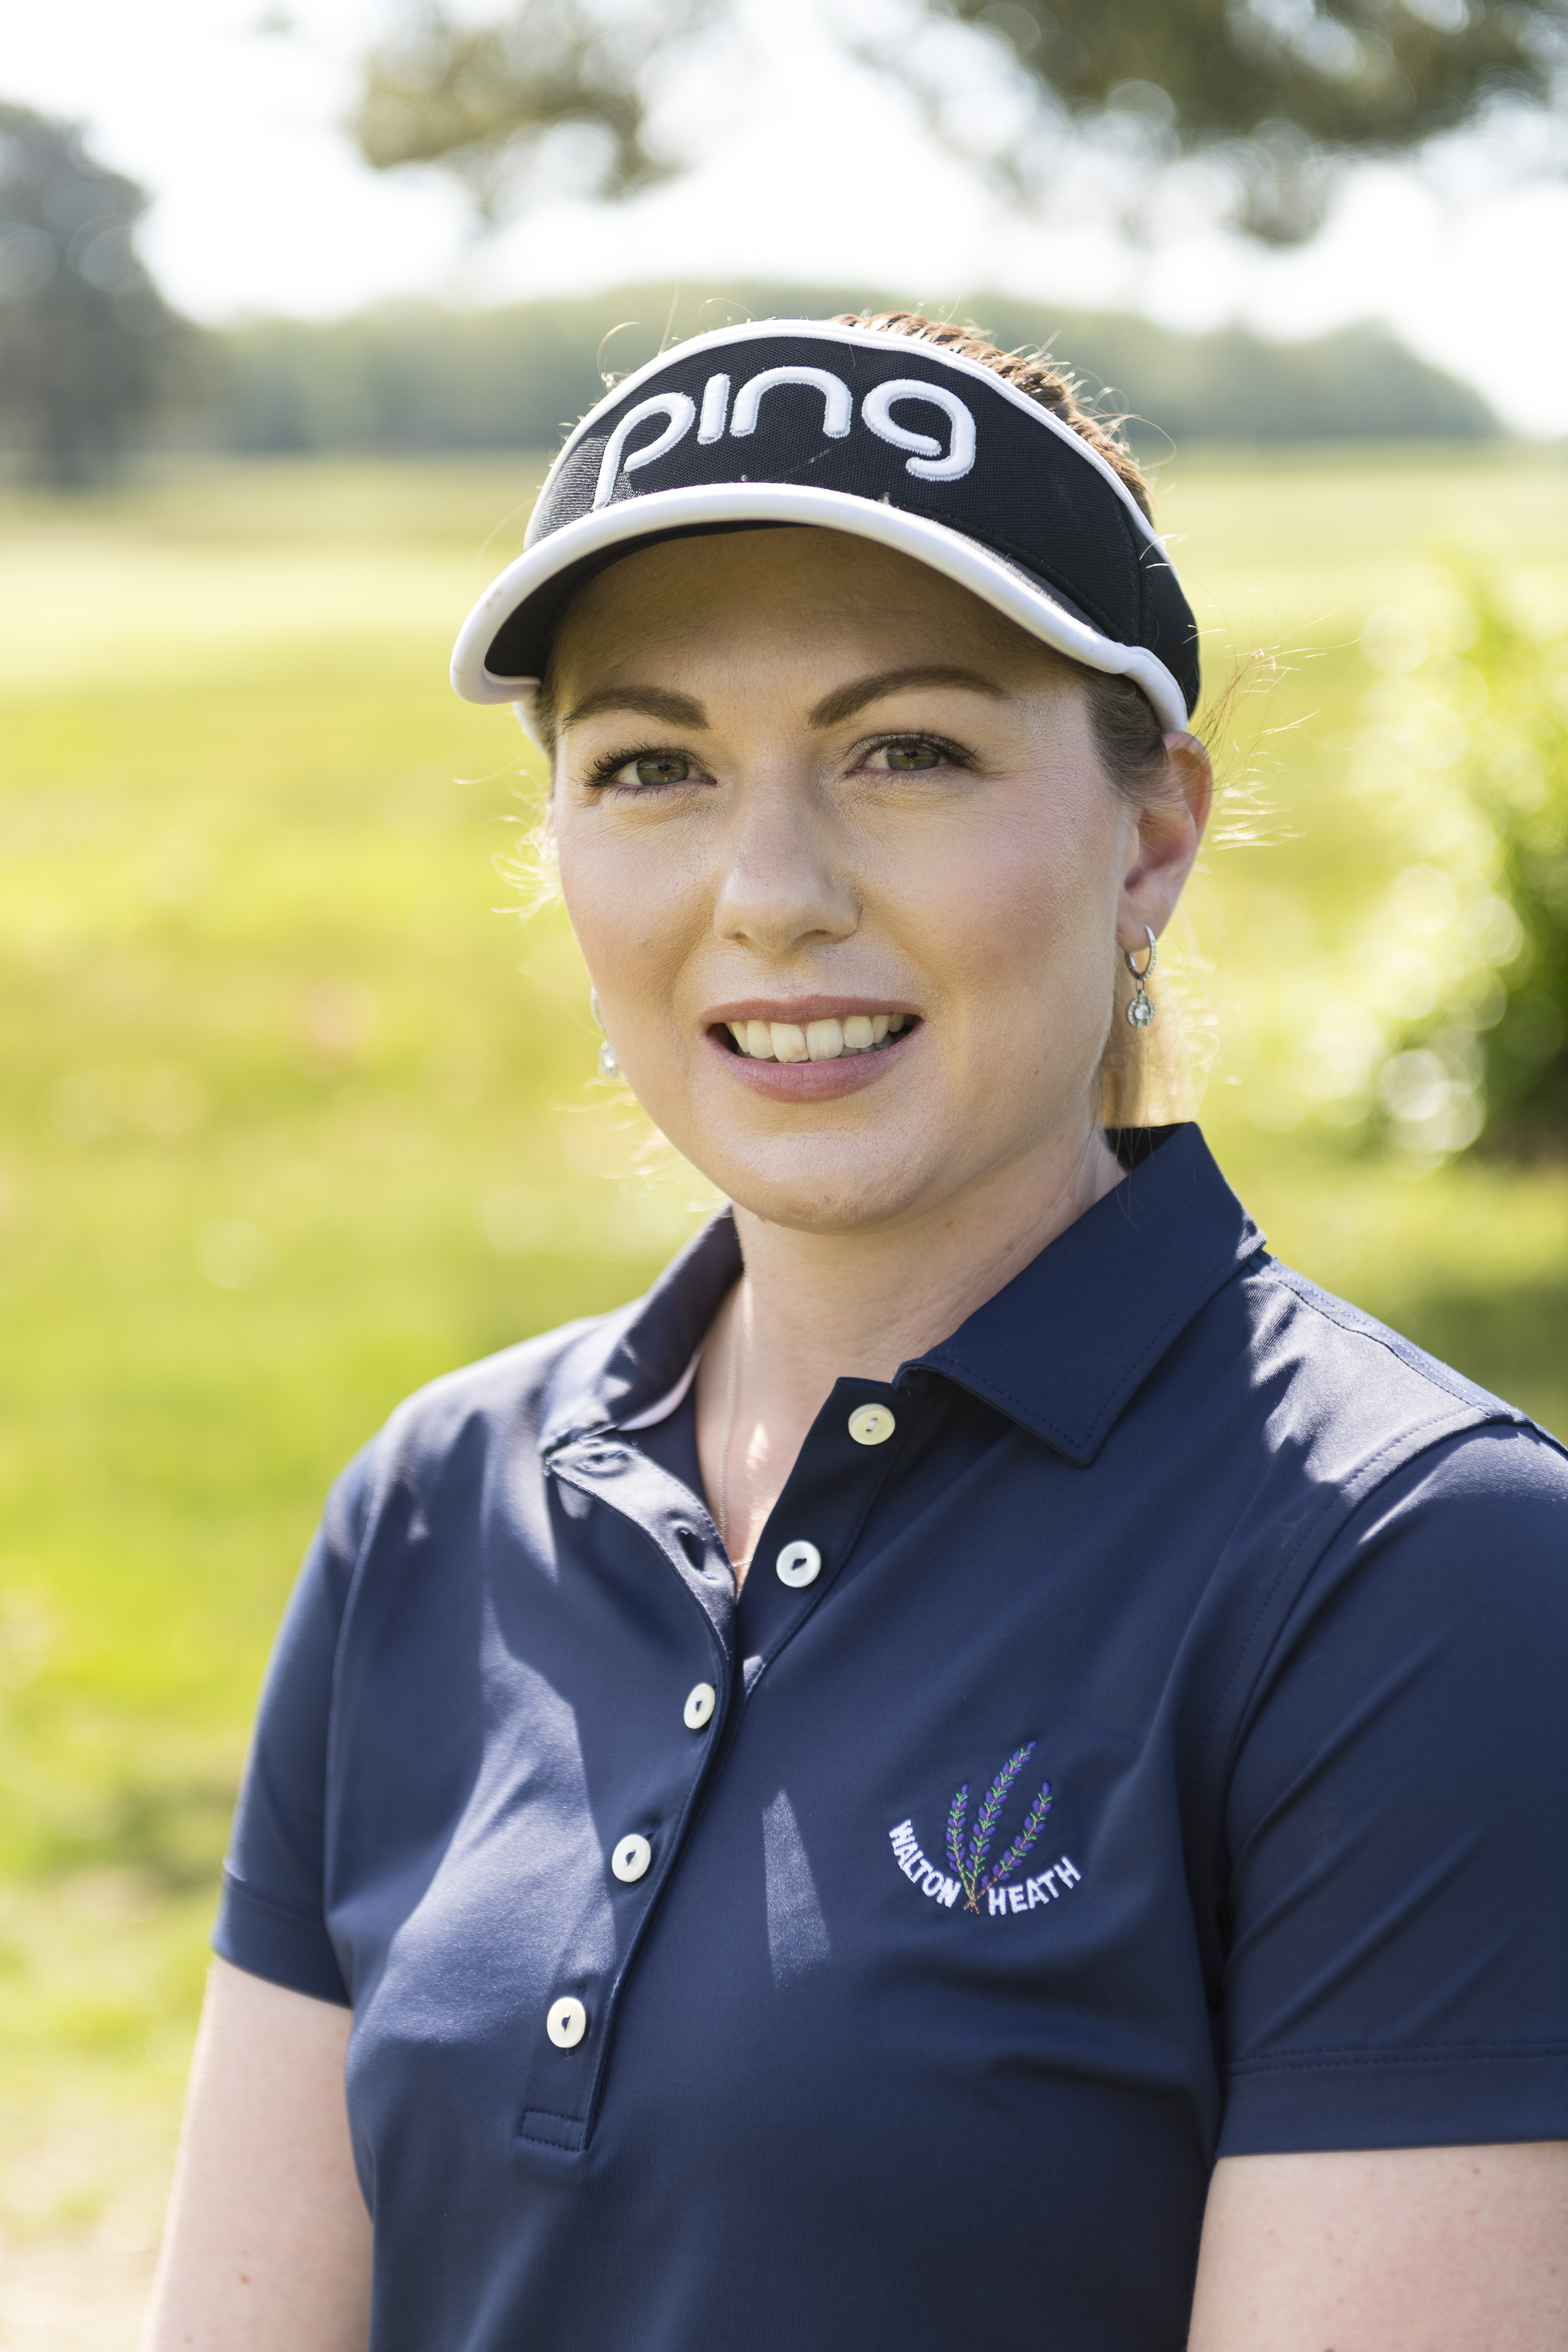
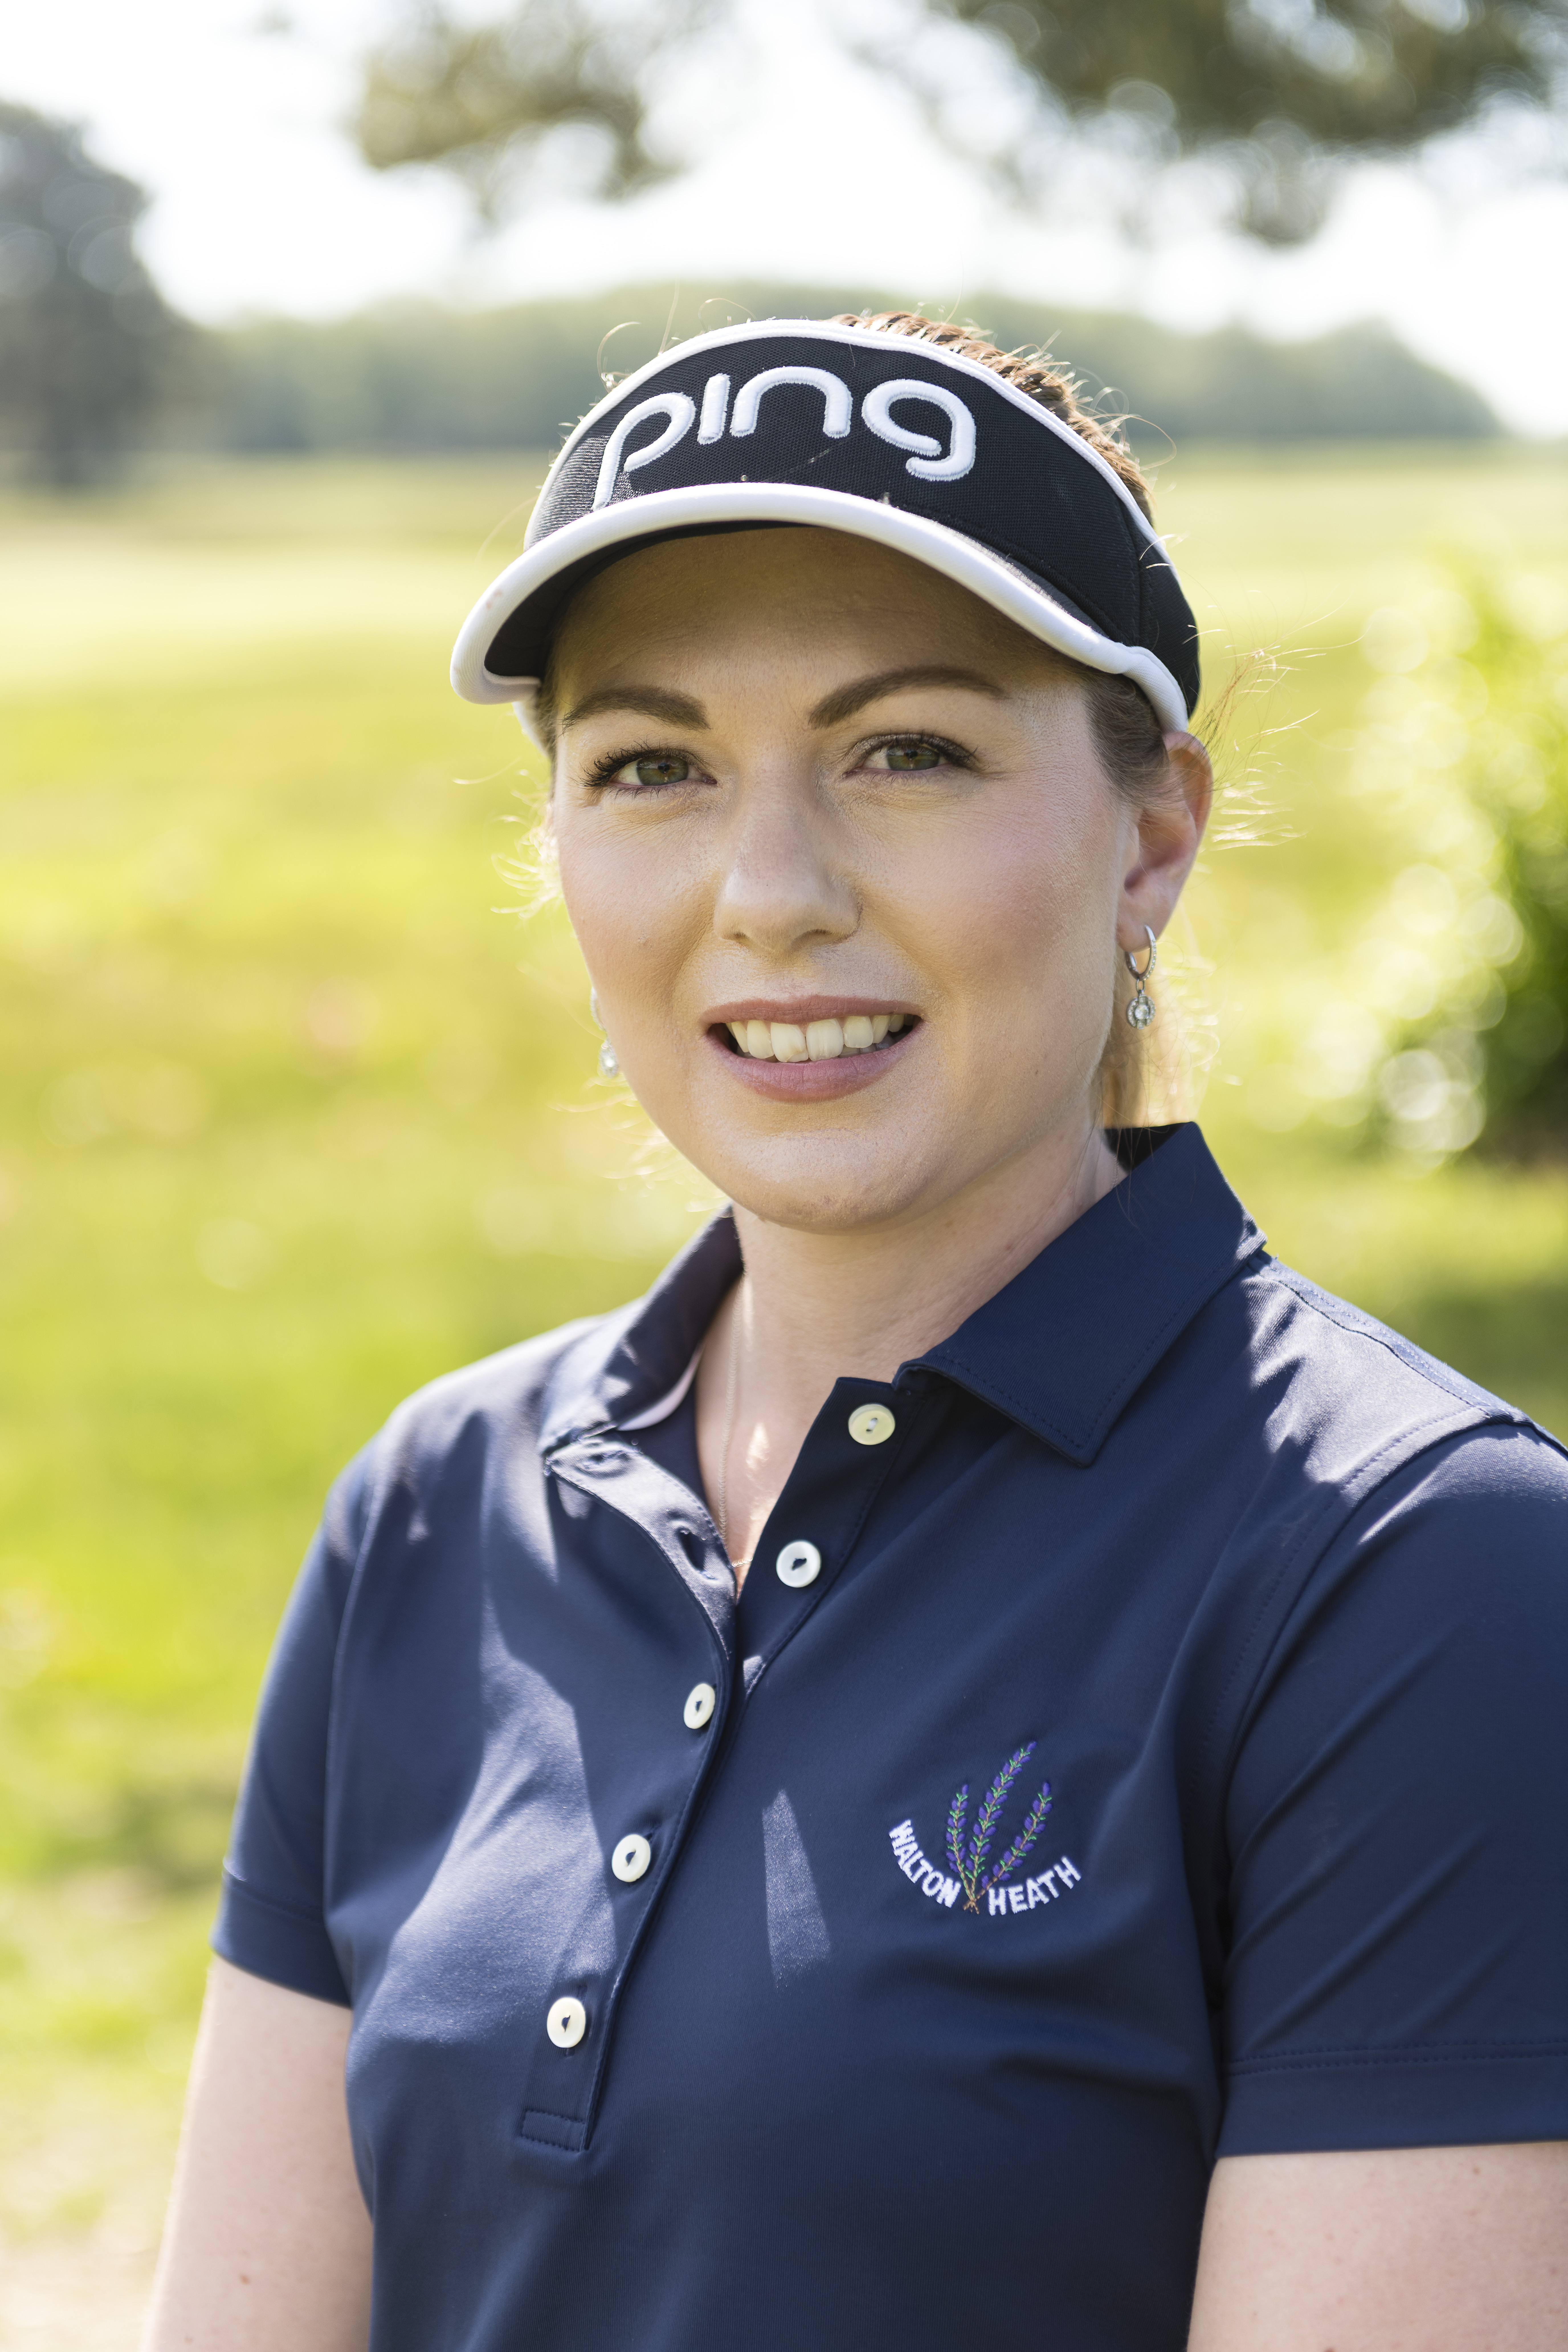
Jo teaches at Walton Heath and is a PGA Advanced Professional having graduated in 2011. She has helped hundreds of women and girls get into the game and she is a strong believer that, whatever your ability, everyone can get plenty out of the game. Jo is currently working towards a Doctorate in Sport and Exercise Science.
1. Grip
This grip is very straightforward, and is therefore easy to try even if you have no prior experience. Your right hand goes onto the top of the grip first, and your left hand sits just under it.
Shift your hands until you get comfortable, but the most reliable method is to have one finger overlapping in the grip (as demonstrated in the image below).
If you feel like there is a little too much movement, or it feels uncomfortable, try a double overlap to get a stronger connection.
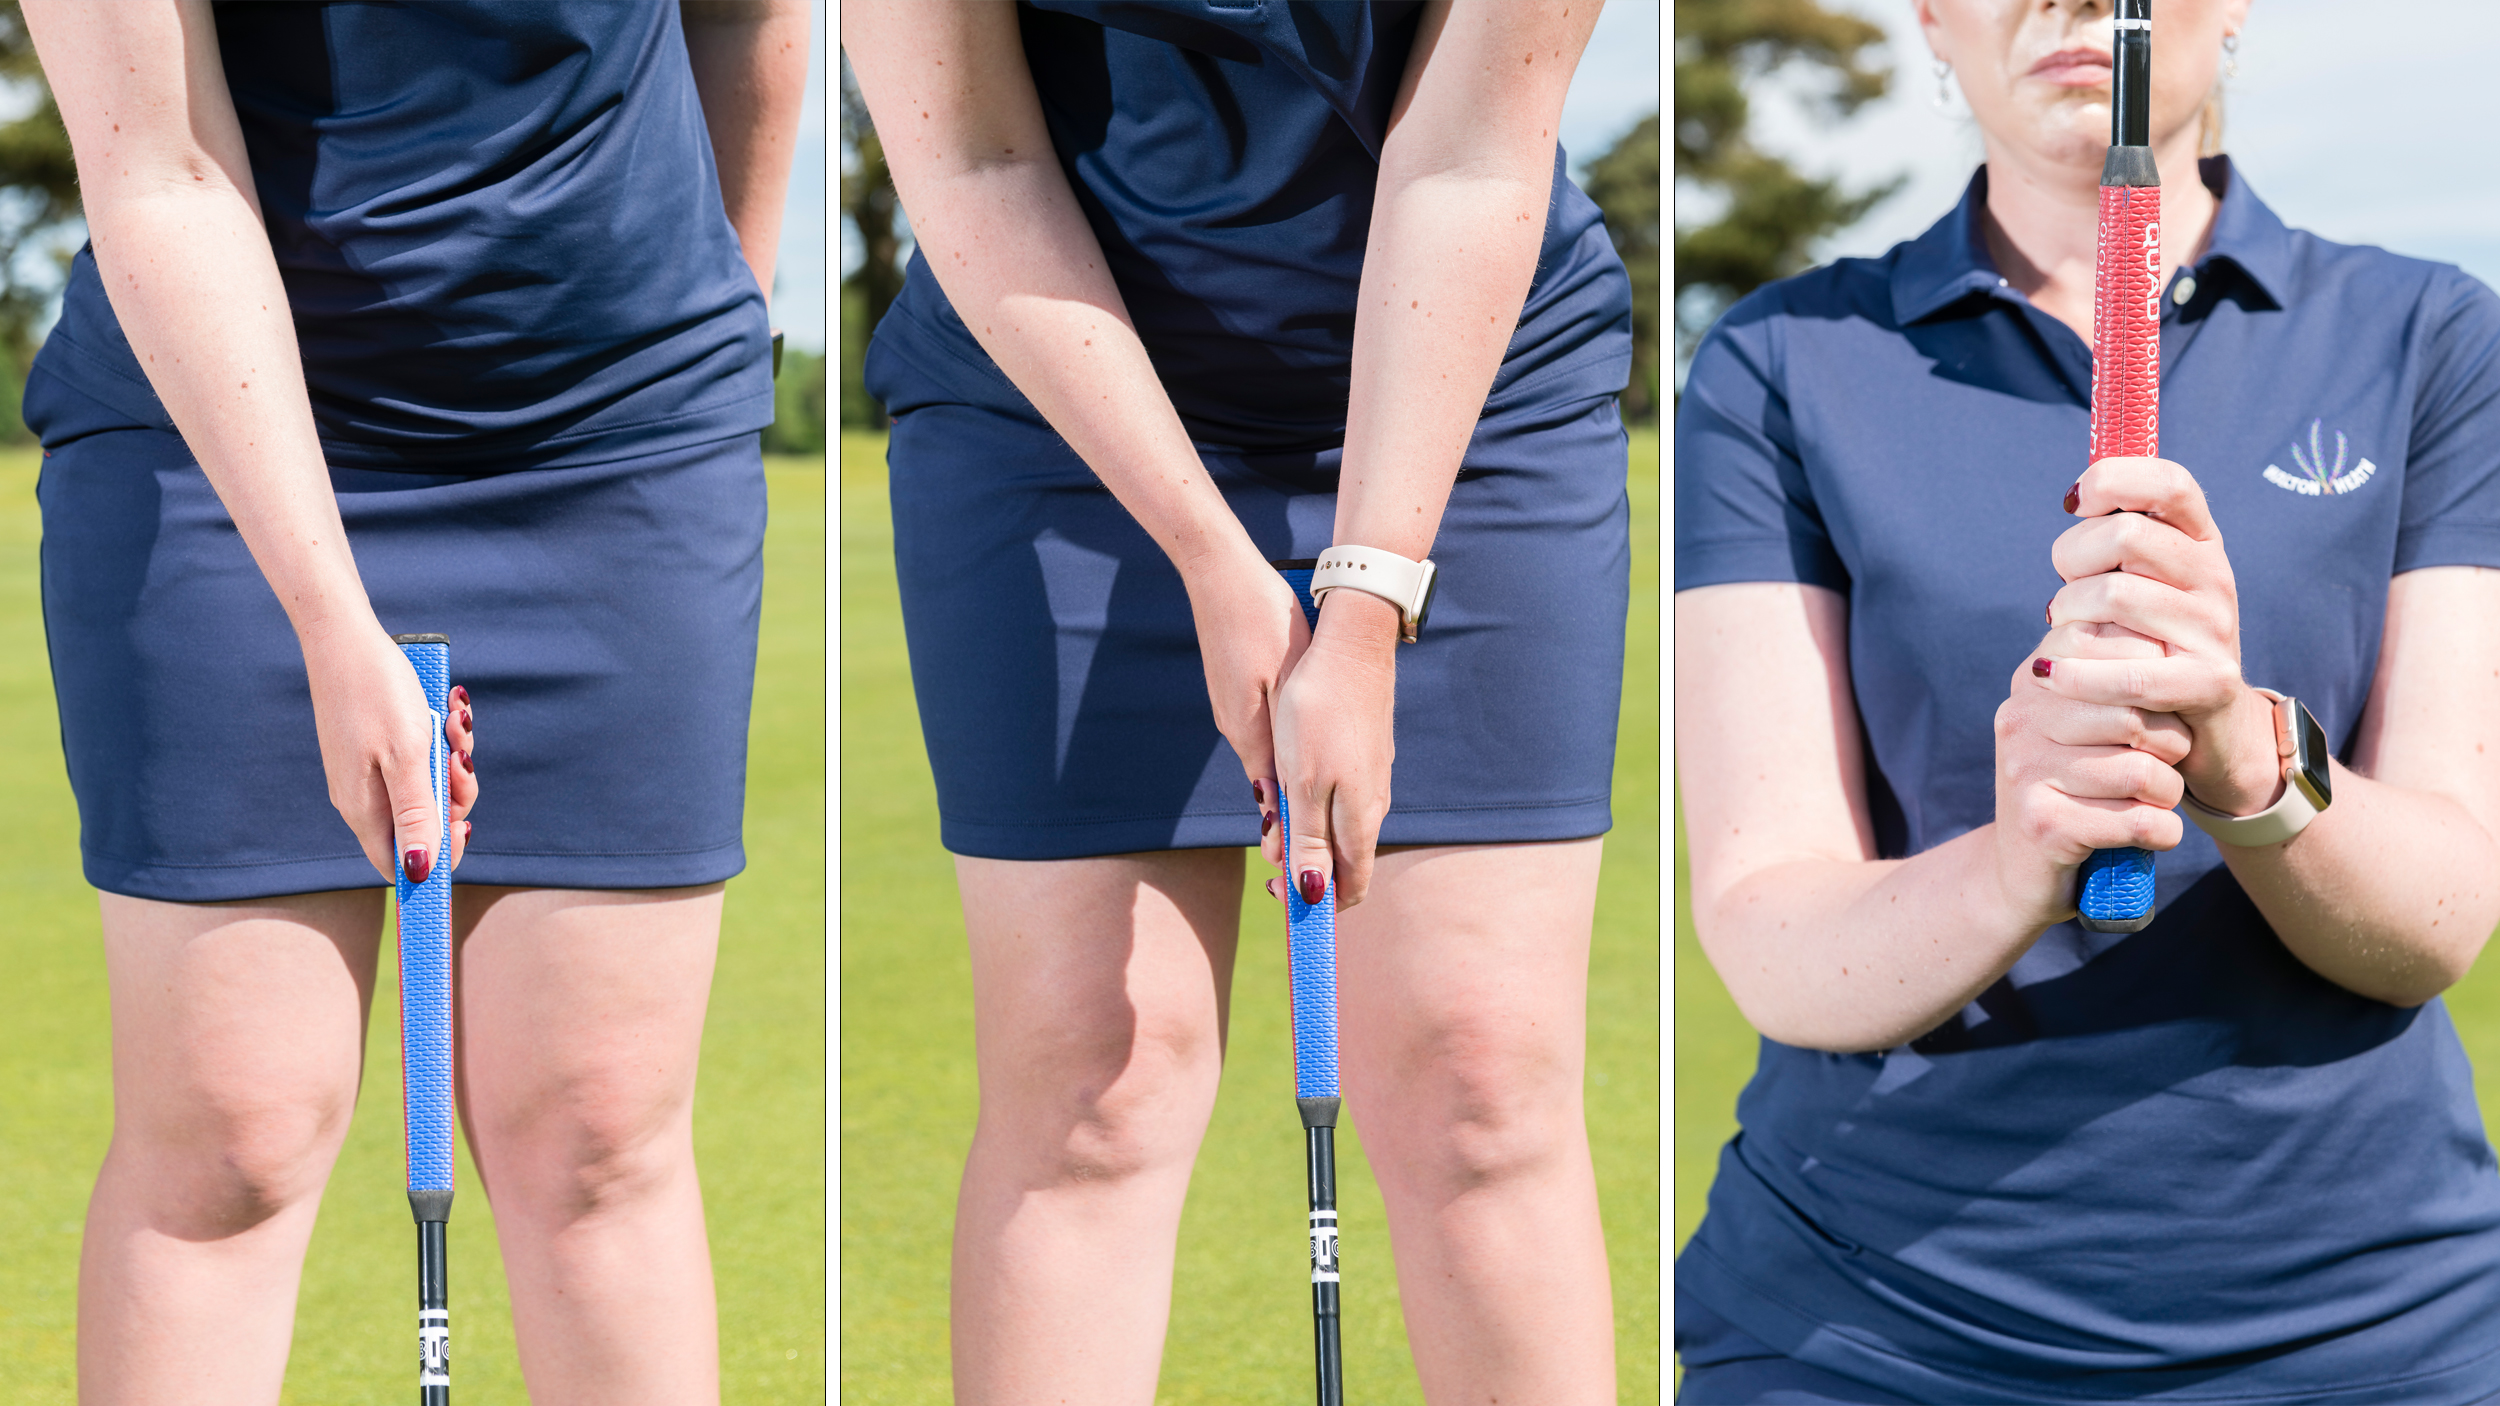
How the left-hand-low putting grip should look
2. Square Shoulders
The left-hand-low putter grip has plenty of benefits, including your shoulders being more level. When your shoulders are open at address it will lead to an out to in path.
Subscribe to the Golf Monthly newsletter to stay up to date with all the latest tour news, equipment news, reviews, head-to-heads and buyer’s guides from our team of experienced experts.
Having your left hand lower than your right squares the shoulders up, and allows the putter to move straight down the target line.
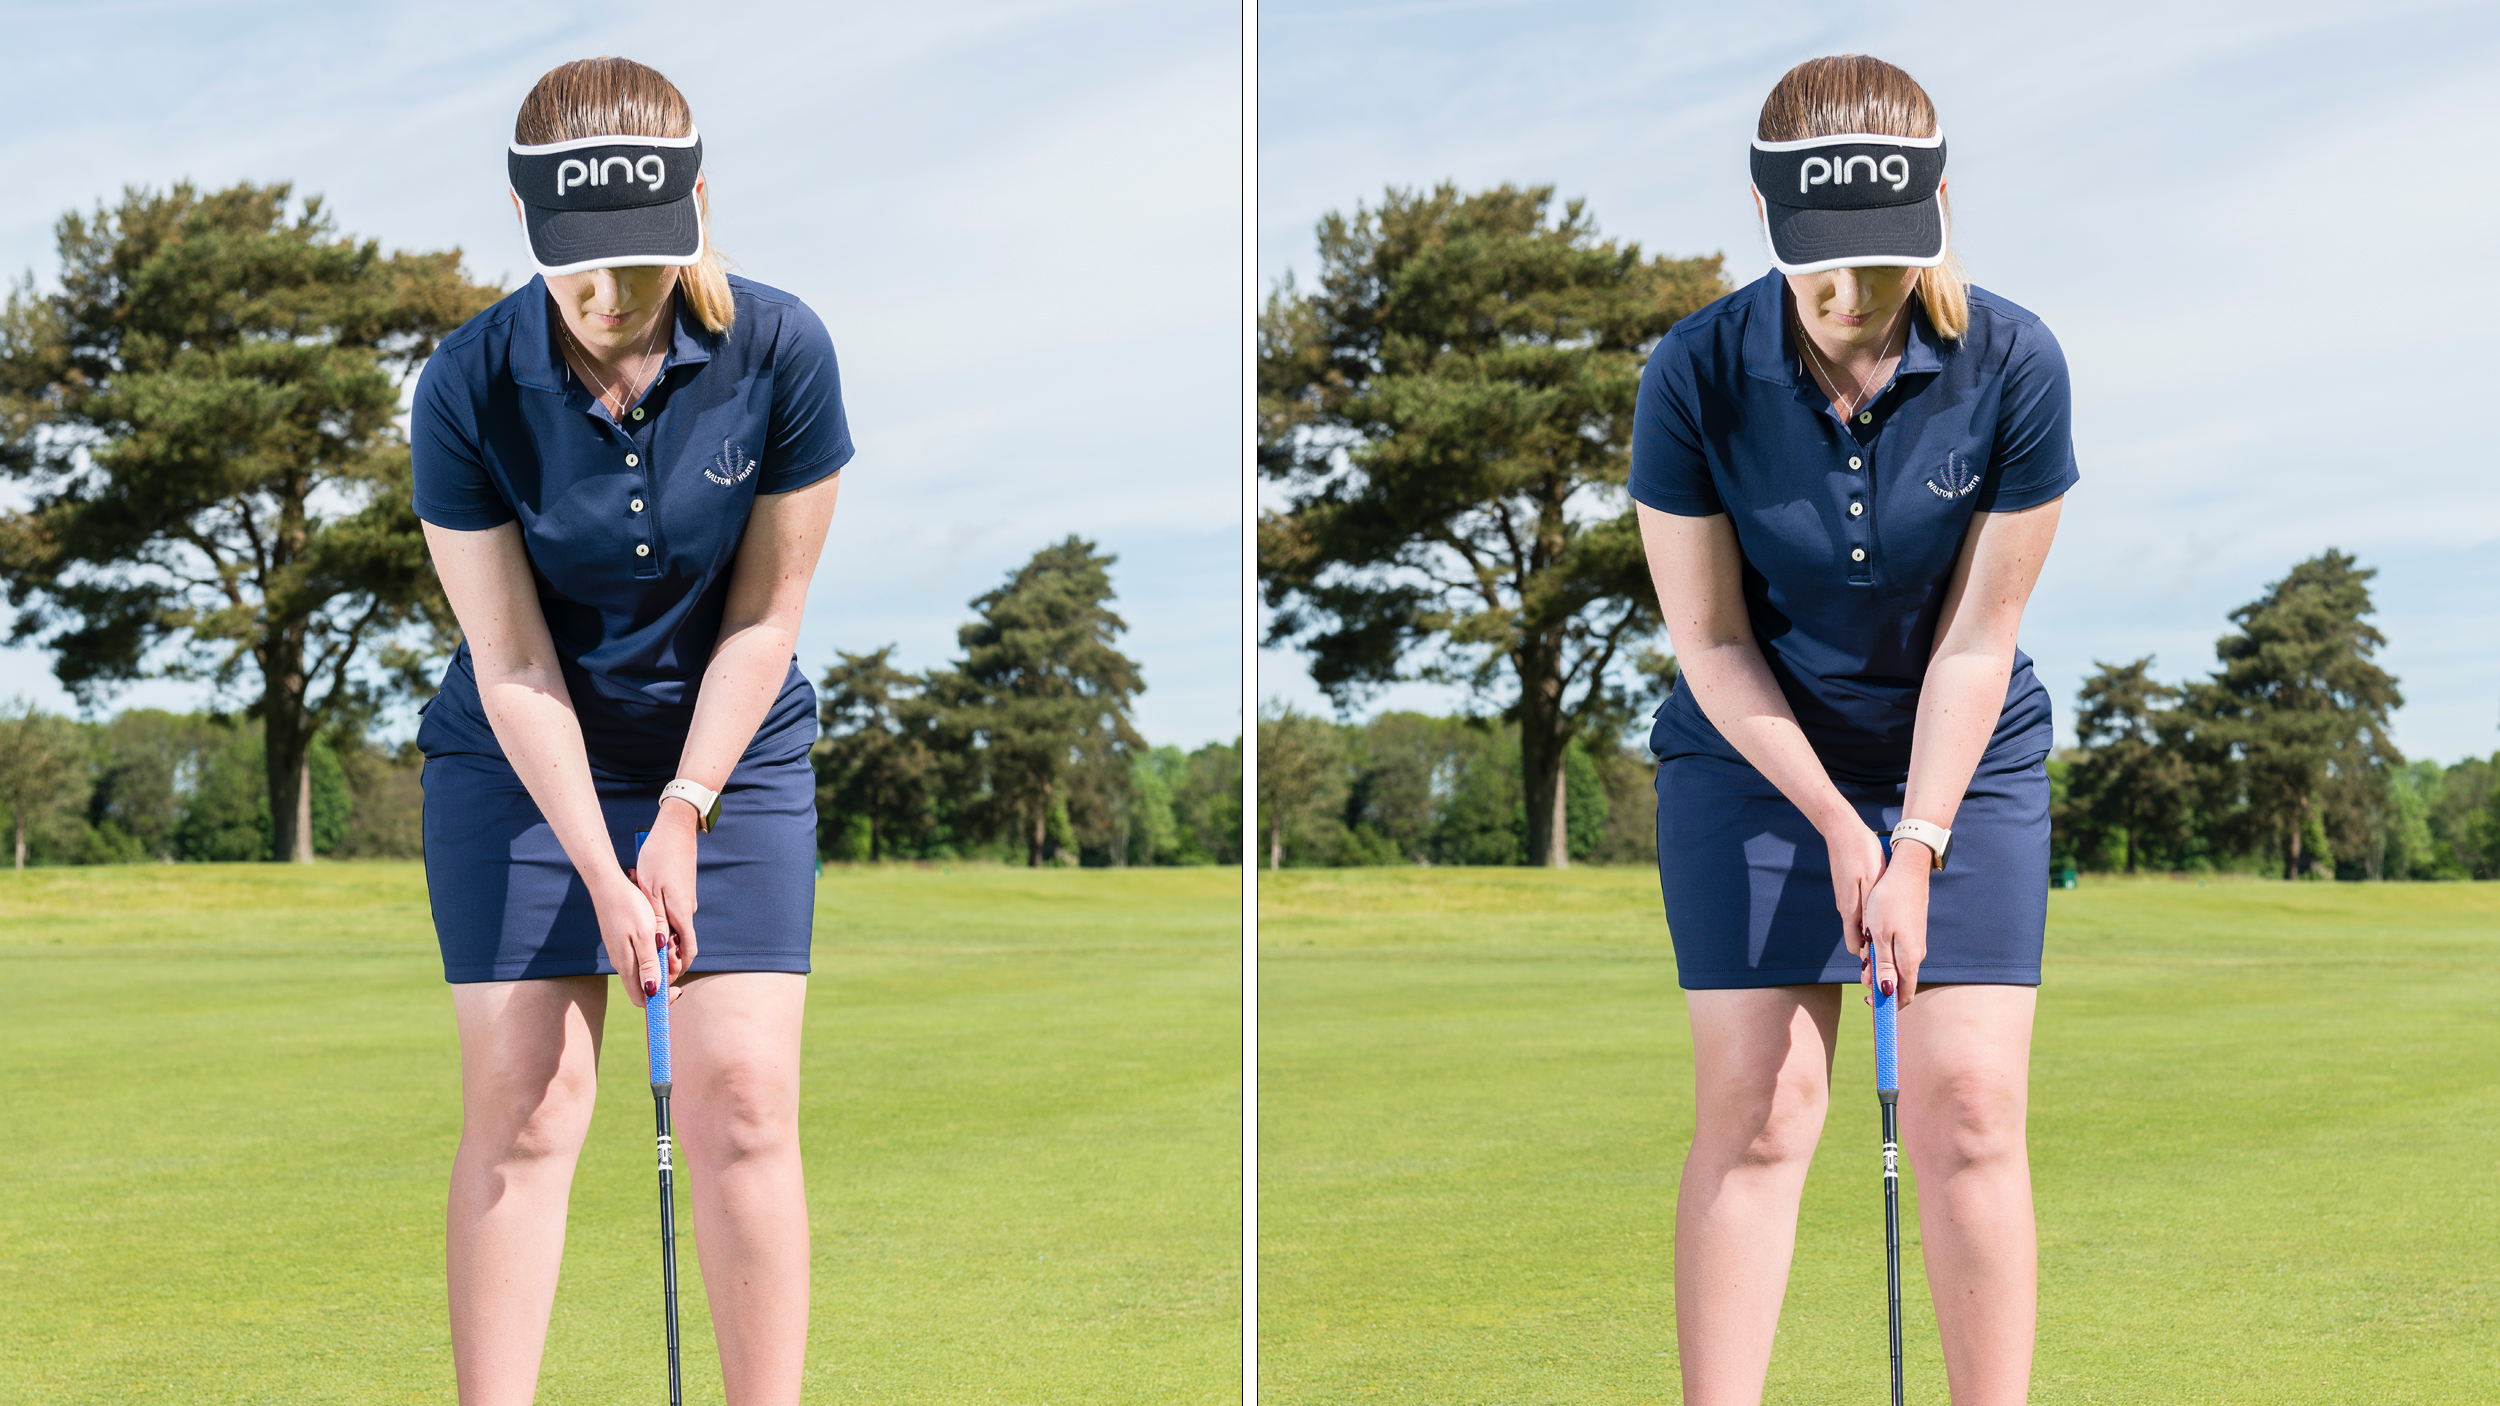
Compared to the conventional method (left), having the left hand low (right) levels and squares the shoulders
3. Ball Position
Another key aspect of this style is having the ball position slightly forward of centre, creating some forward shaft lean, which will allow your left shoulder to drive the stroke.
This grip prevents the right hand from becoming too dominant, and with your shoulders more level, you should see more putts drop when it counts.
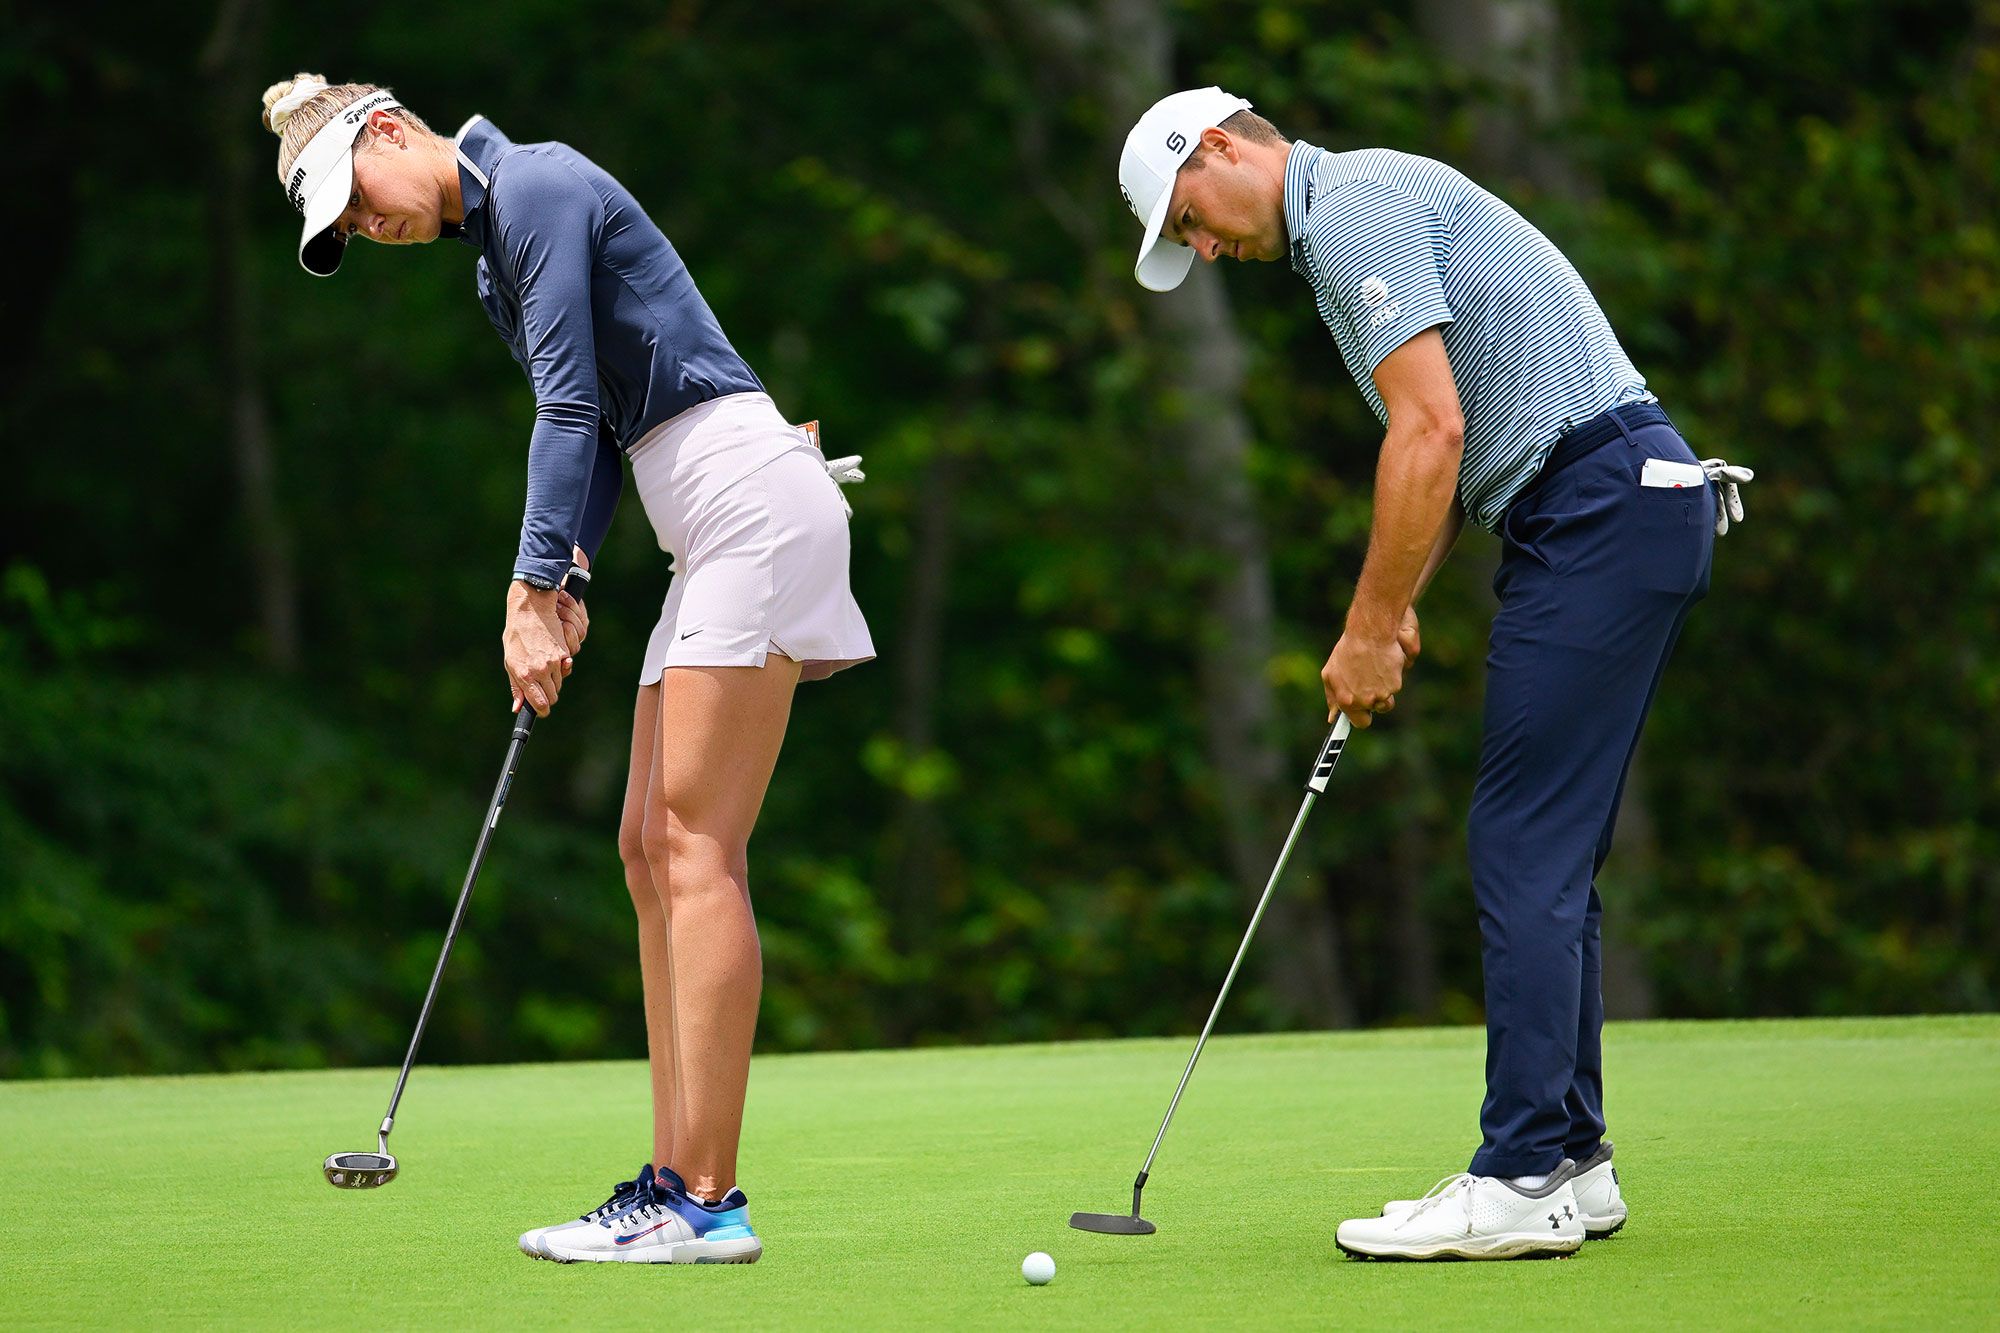
Jordan Spieth and Nelly Korda still use the left hand low putting grip - both of whom have won multiple Major Championships
4. Practice
It is worth saying here that if you have used an alternative putting grip for years, then any switch is likely to take time.
The key is commitment. If you feel that your putting is poor, then a totally new feel is a good way to reset your mind and provide the foundation for your confidence to grow.
However, don't expect it to transform your game overnight. Any change in the norm when trying to find the perfect golf grip (long game or short game) will take time.
Use some practice putting drills to develop your feel for pace control in particular. The more putts you hit, the better your instinctive feel for distance control will become.
Above all, allow yourself some wiggle room to make mistakes on the course. By taking pressure off your shoulders, you'll make a bigger improvement far sooner.
Location: Walton Heath
Jo teaches at Walton Heath and is a PGA Advanced Professional having graduated in 2011. She has helped hundreds of women and girls get into the game and she is a strong believer that, whatever your ability, everyone can get plenty out of the game. Jo is currently working towards a Doctorate in Sport and Exercise Science.
Teaching philosophy:
I like to keep things simple and try to articulate things in a way that is easy for the student to understand. I need to understand the technicalities of what is creating their ball flight, but I need to be able to communicate that to the student in a way that they can utilise.
A typical lesson:
My lessons begin with a lot of questioning, I want to understand what the person wants out of their lesson. I want to understand as much about their game and what they are struggling with. Once I’ve seen their flight and motion, I will often utilise video and TrackMan data to further understand/reinforce what I’m seeing. I always want my students to understand what we are changing and why. I then take the player through what we want to change, and how best to practise. I close my lessons by checking for understanding and asking the player to tell me what they going to work on.
Most common impact:
Angle of attack is often a common impact fault I see, with players either being too steep or too shallow. Most often this is caused by a lack of rotation or a poor concept where a player is trying to scoop or chop down on the ball. I try to correct the fault by demonstrating the concept before getting the player to make small, controlled swings to get a feel for the new movement. With some players I try to find a visualisation or an external focus of attention which helps them make the desired movement without overthinking.
You must confirm your public display name before commenting
Please logout and then login again, you will then be prompted to enter your display name.